
Description
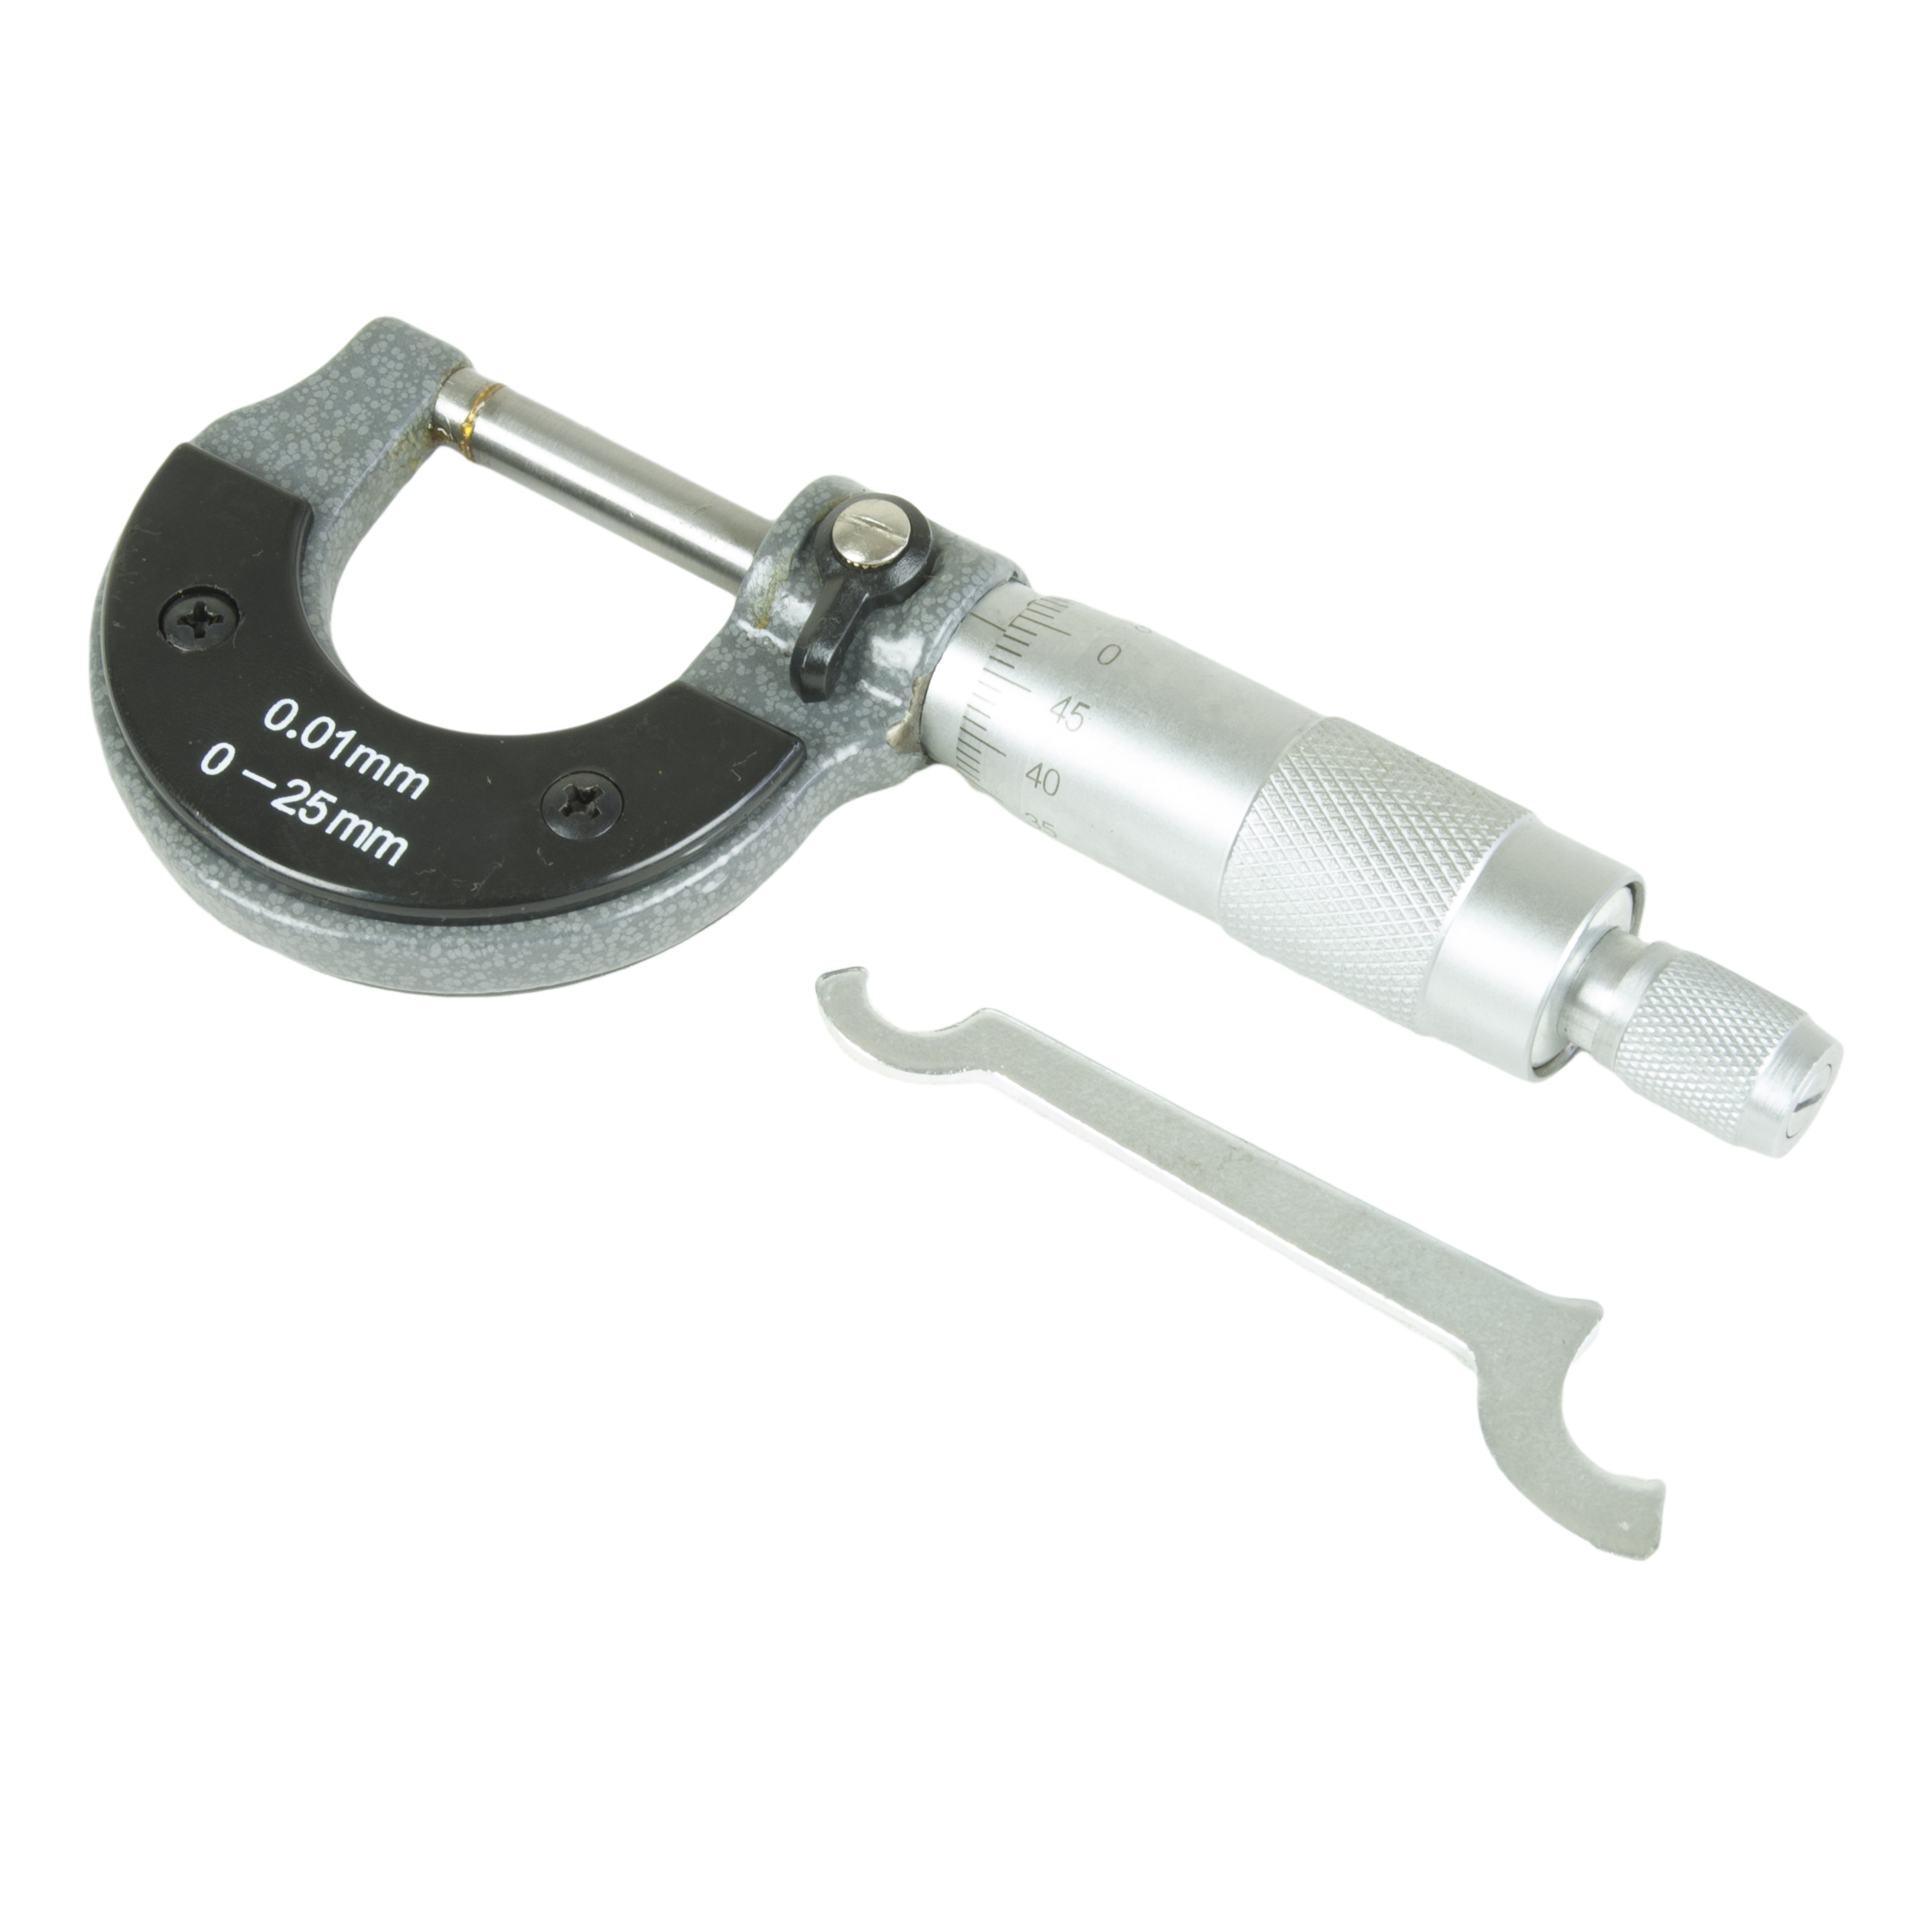
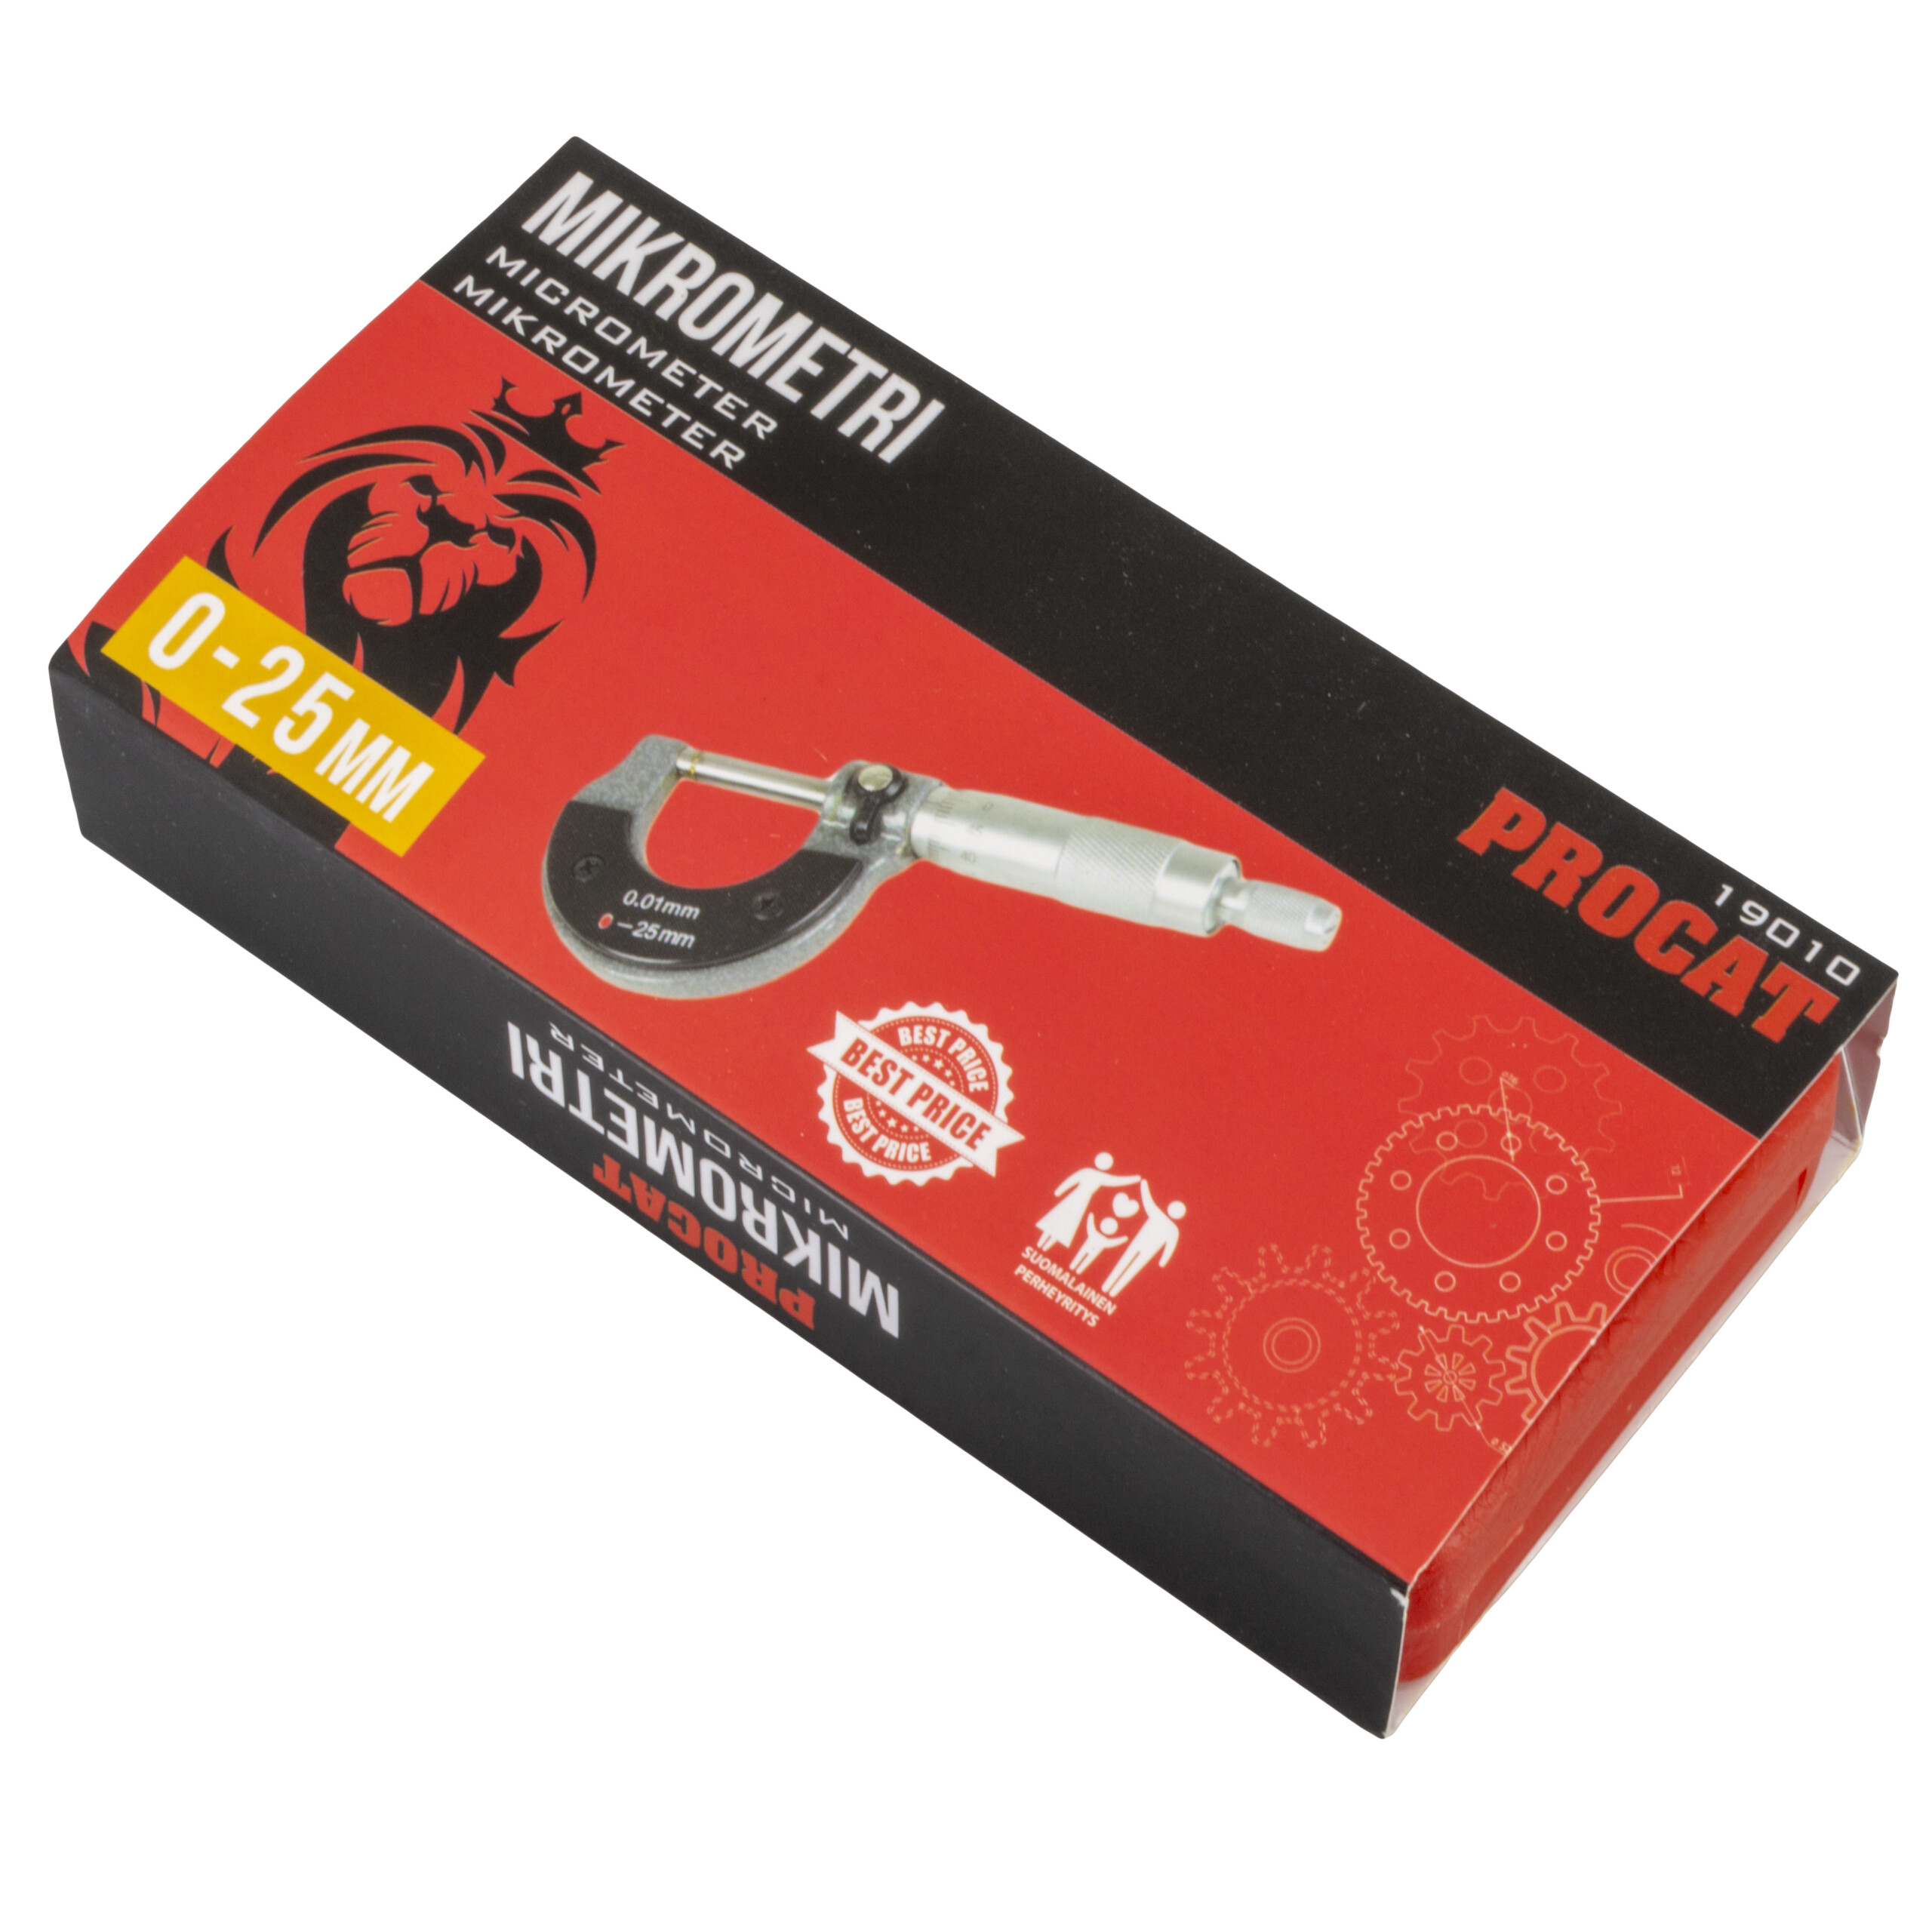
The Procat micrometer is a precise measuring tool suitable for many industries, such as engineering workshops, metalworking shops and other applications that call for precision measurement.
The micrometer is designed to be user-friendly, and its locking mechanism ensures that the measurement stays stable. The scale is clearly legible, which makes the work easier. The ergonomic design improves comfort, and the adjustment mechanism allows accurate measurement.
This micrometer is easy to use, and its mechanical operating principle guarantees a reliable measurement without a separate power source. It suits a wide range of measuring needs where accurate measurement over small measuring intervals is required.
Intended use
- Machining: Suitable for accurate measurements in machining.
- Metalworking: Used for measuring metal parts.
- Component inspection: Measures small parts and their dimensions.
- Maintenance and repair: Suitable for measuring worn parts.
- Teaching and training: Used for learning measuring techniques.
Features
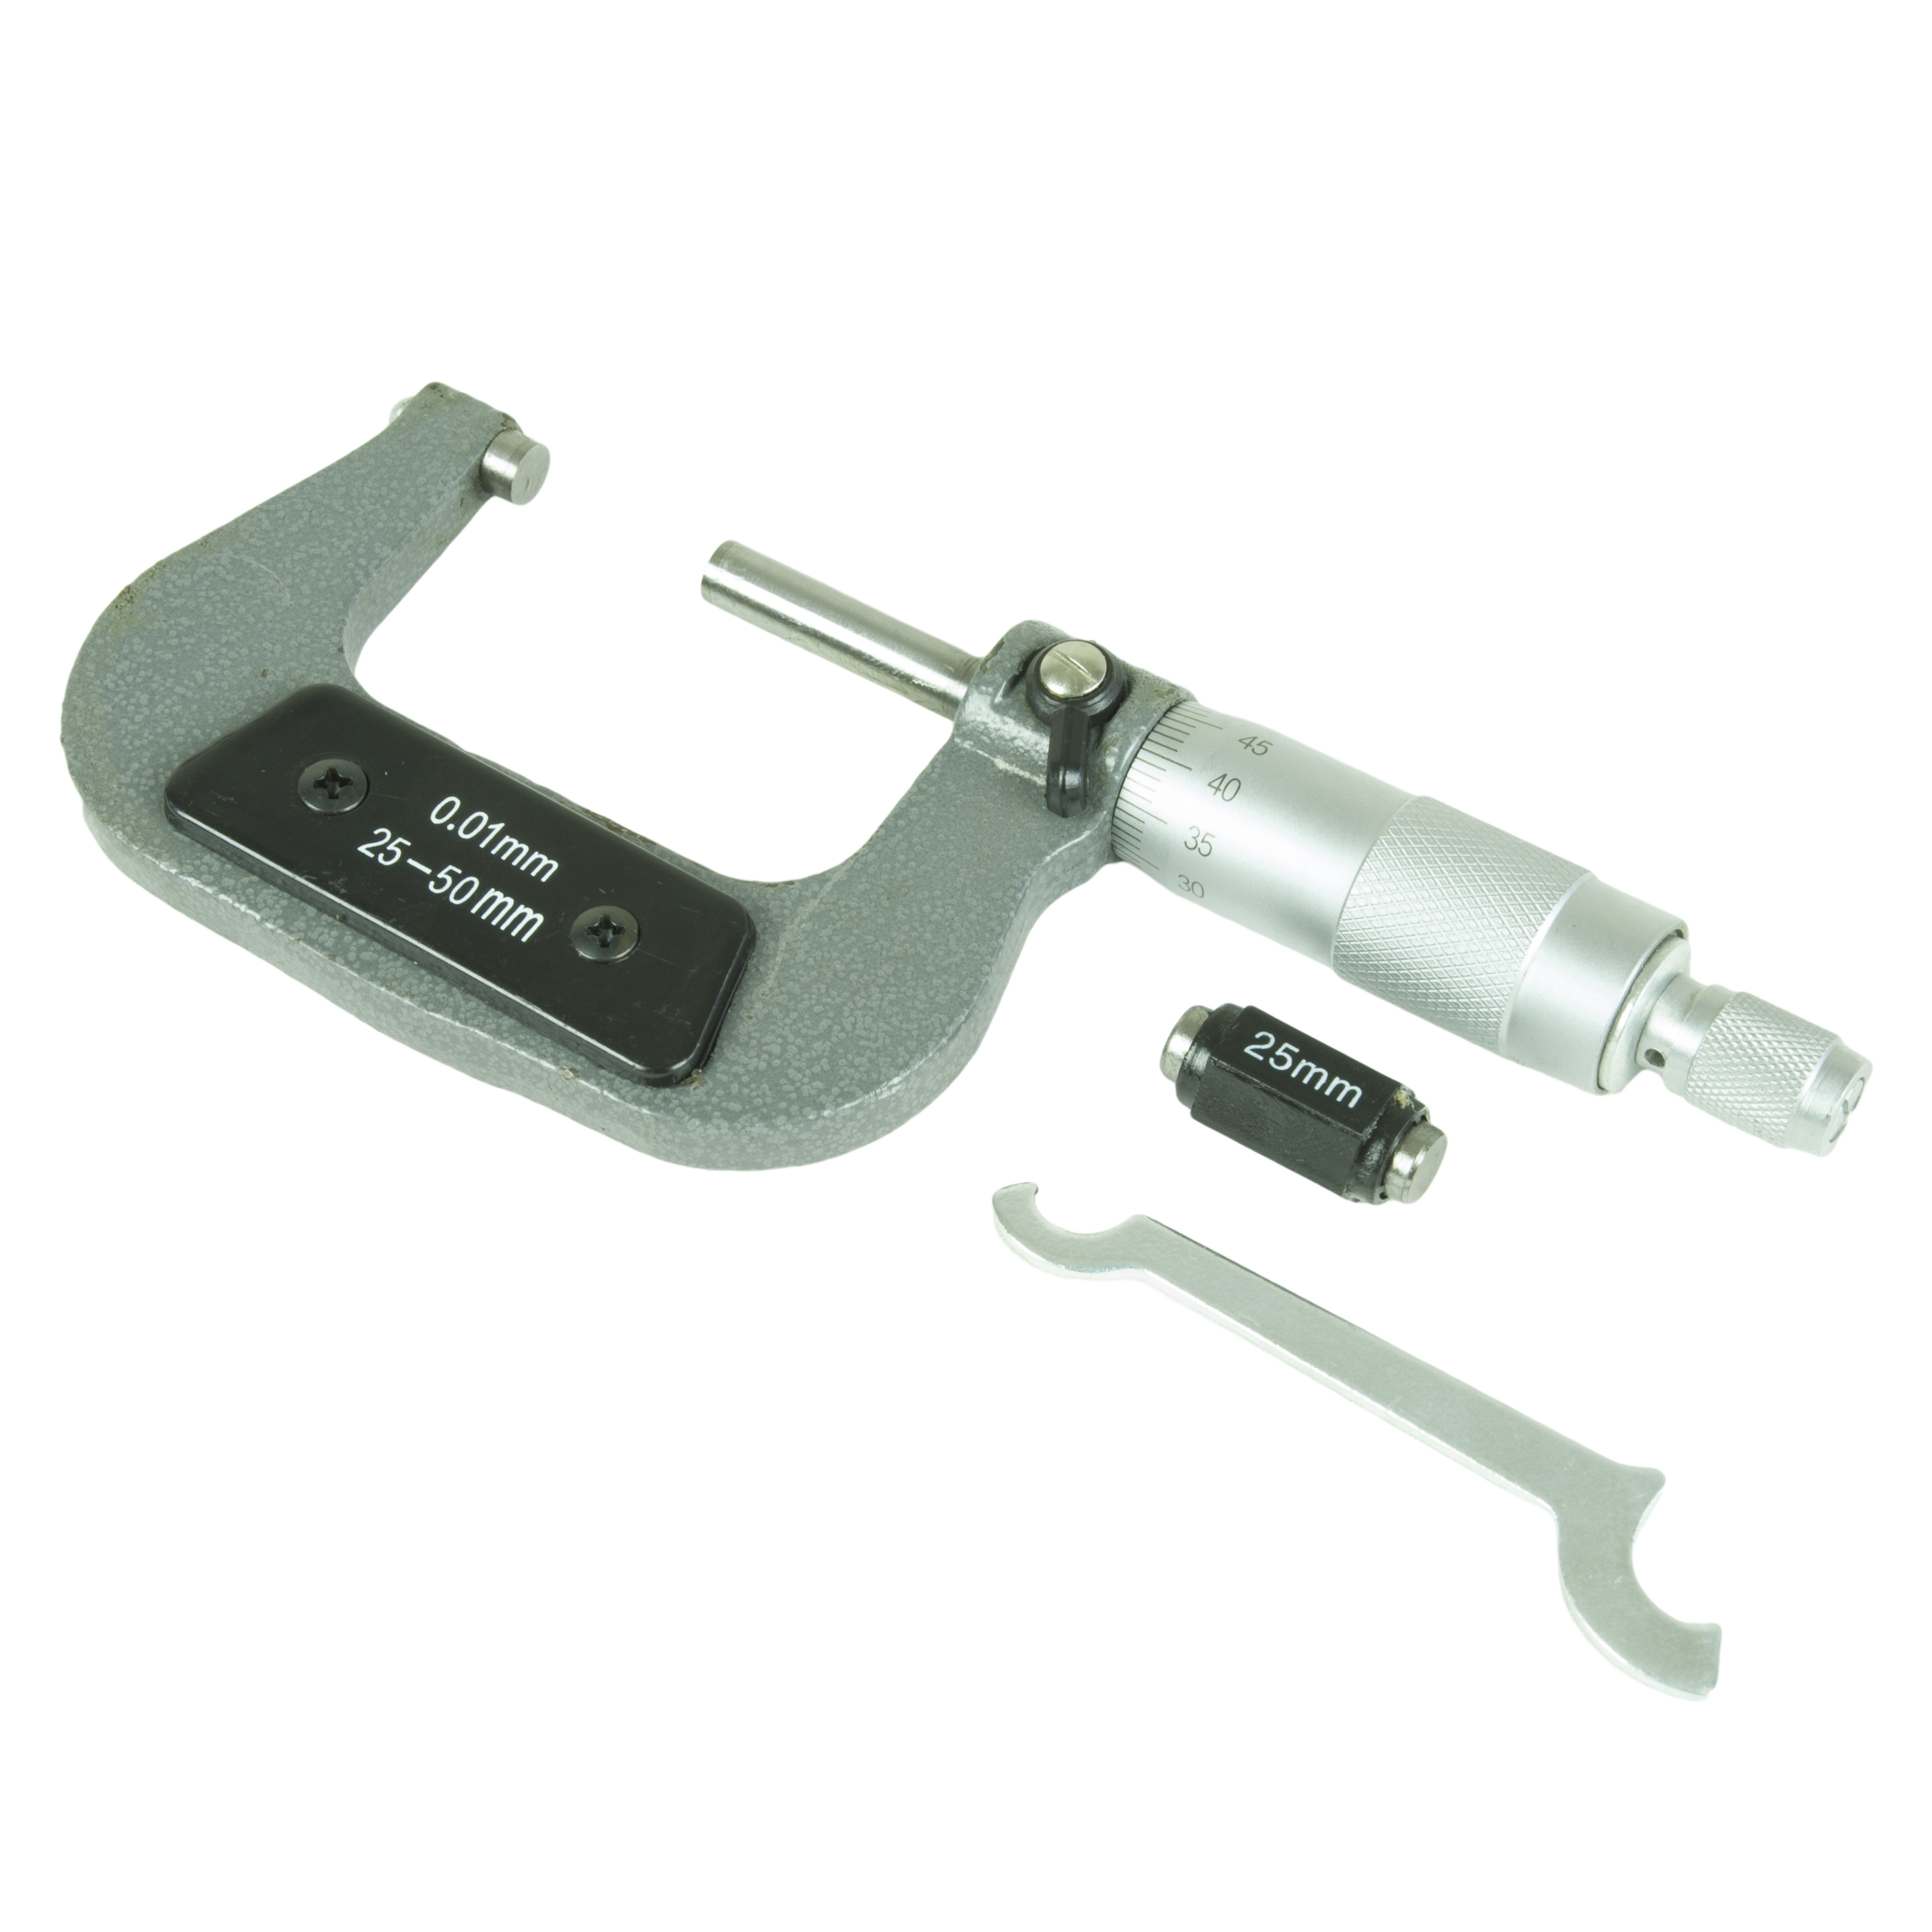
- Measuring range: 0–25 mm or 25–50 mm (depending on the model)
- Accuracy: 0.01 mm
- Locking mechanism: Ensures a stable measurement.
- Ergonomic design: Makes it easier to use.
- Clear scale: Easy-to-read measurement.
- Metal body: Sturdy construction.
Procat micrometer: instructions for use
- Open the micrometer by turning the thimble.
- Place the object to be measured between the measuring faces.
- Tighten the thimble until the faces touch the object.
- Lock the measurement with the locking mechanism.
- Read the result on the scale.
Clean the micrometer regularly and store it in its case when not in use.
Micrometer calibration instructions (for professional use)
These are detailed professional instructions for calibrating and adjusting a mechanical outside micrometer (e.g. 0–25 mm). Regular calibration is essential to ensure measuring accuracy and metrological traceability in quality control.
1. Preparation and ambient conditions
Calibration is a precision process that requires stable conditions to achieve reliable results.
- Temperature stabilisation: The micrometer, the gauge block standards used and the surroundings must be allowed to reach the same temperature. The recommended standard temperature is 20 °C. Let the instruments rest in the calibration room for at least 1–2 hours before the procedure. Thermal expansion (e.g. body heat transferred from the hand) can cause significant measuring errors at micrometre level.
- Cleaning: Clean the measuring faces of the micrometer (spindle and anvil) very carefully with a clean, lint-free cloth (e.g. a microfibre cloth) and a cleaning agent suitable for precision mechanics (e.g. isopropanol). Also clean the gauge blocks used. Make sure no dust, lint, oil film or fingerprints are left on the surfaces.
- Visual inspection: Check the measuring faces for wear, scratches or corrosion. Make sure the spindle moves smoothly over the whole measuring range without play or sticking.
2. Checking and adjusting the zero point
Checking the zero point is the most important calibration step and the one done most often (at least daily).
- A) Checking:
1. Turn the micrometer spindle slowly closed against the anvil using the tightening mechanism.
2. Let the ratchet click 2–3 times at an even speed to ensure a standardised measuring force.
3. Read the scale: the ‘0’ line of the thimble scale must line up exactly with the horizontal datum line on the sleeve, and the vertical ‘0’ line on the sleeve must be just visible.
4. *For larger micrometers (e.g. 25–50 mm), a corresponding zero standard (e.g. a 25.00 mm gauge block) is used between the anvil and the spindle to determine the zero error.* - B) Adjustment (if an error is found):
If the zero point does not line up, make the adjustment with the tools supplied with the instrument, depending on the size of the error:- Small error (under approx. 0.02 mm): Lock the spindle with the locking lever. Insert the adjusting spanner into the small hole on the back of the sleeve (scale tube). Carefully turn the sleeve with the spanner until the datum line lines up with the zero on the thimble scale. Release the lock and check the zero point again with the ratchet.
- Large error (over 0.02 mm): Lock the spindle. Hold the thimble firmly in place and loosen the ratchet (or the fixing screw at the end of the thimble) with the adjusting spanner. Release the lock and move the thimble freely along its axis so that the zero lines line up. Retighten the ratchet/fixing screw. Fine-tune with the “Small error” method if needed.
3. Calibrating the measuring range (linearity)
Adjusting the zero point only ensures the accuracy of the starting point. Linearity must be checked at regular intervals (e.g. every 12 months) over the whole measuring range using high-quality grade 0 or 1 gauge blocks.
- Selection: Choose 3–5 gauge blocks that cover the measuring range of the instrument evenly (e.g. the sets recommended for a 0–25 mm instrument, such as 5.12 mm, 10.30 mm, 15.00 mm, 20.20 mm and 25.00 mm). *Different hundredths in the block sizes reveal errors of the thimble scale in different positions.*
- Measuring:
1. Clean the gauge block and the micrometer faces.
2. Place the gauge block between the anvil and the spindle.
3. Tighten the spindle with the ratchet (2–3 clicks).
4. Read the value to an accuracy of one hundredth of a millimetre (or one micrometre if fitted with a vernier).
5. Record the measured value, the standard used and the calculated deviation (measured value – standard value). - Parallelism check: Measure the gauge block at different points of the measuring faces (centre and edges). A large spread in the results indicates that the faces of the spindle and anvil are not parallel, which requires servicing (lapping).
4. Analysing the results and acceptance criteria
Compare the measurements and calculated deviations with the maximum permissible error (MPE) stated in the technical data of the instrument. For mechanical outside micrometers, this is usually based on the DIN 863-1 standard.
- Example (0–25 mm micrometer): The maximum permissible error (MPE) is typically ±4 µm (0.004 mm).
- Pass: If all measured deviations over the whole measuring range are within the permissible error limit (after zero adjustment), the micrometer is calibrated, compliant and ready for use.
- Fail: If the deviation exceeds the permissible limit at any measuring point, the instrument does not meet the accuracy requirements. Causes may include mechanical wear (especially in the spindle threads), spindle bending or uneven measuring faces. A failed instrument must be clearly marked, taken out of production use and sent to an authorised service centre for repair, or replaced with a new one.
How to choose the right micrometer
When choosing a micrometer, consider the measuring range and what you need it for. A 0–25 mm measuring range is suitable for small, precise measurements. Digital micrometers have an electronic display, while mechanical micrometers such as the Procat model are simple and maintenance-free.
Warnings
- Do not use force, so that the measuring mechanism is not damaged.
- Avoid moisture and chemicals.
- Store in the protective case after use.
FAQ
Can the micrometer be used to measure plastic parts?
Yes, but tightening too hard can damage soft materials.
Is the micrometer self-calibrating?
No, it must be calibrated regularly.
Does the micrometer need batteries?
No, this is a mechanical model.
Can this be used outdoors?
Only in dry conditions, as moisture can affect the mechanism.
How is the micrometer cleaned?
With a dry cloth, and light lubrication when needed.